

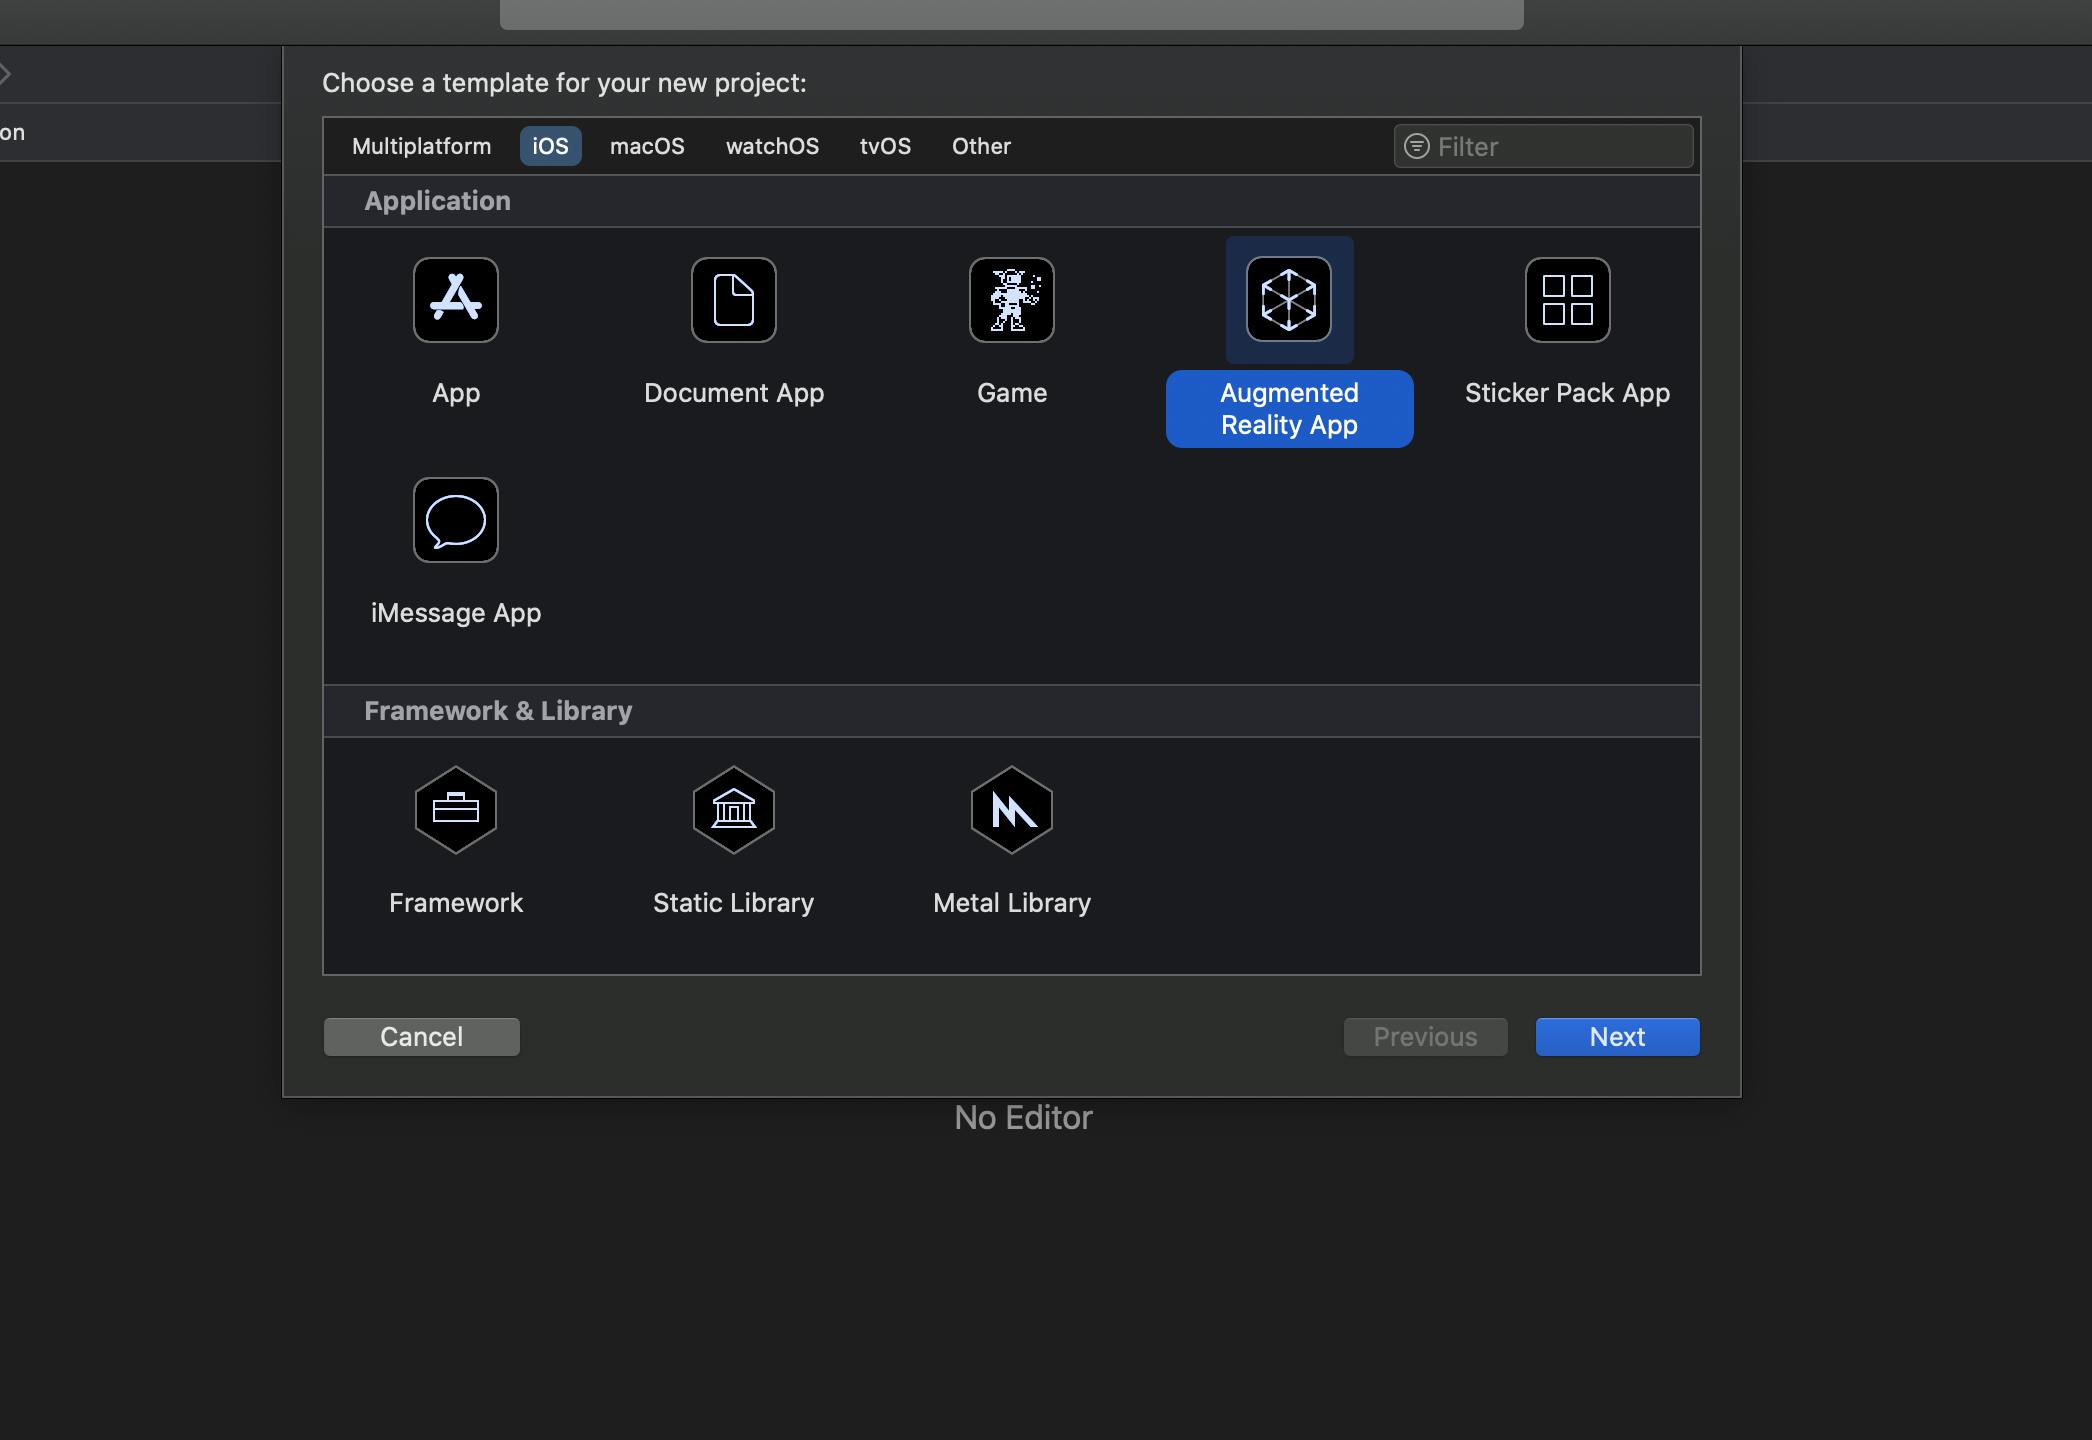
Let's start by creating an augmented app in Xcode.
Next, create the files in the following way:

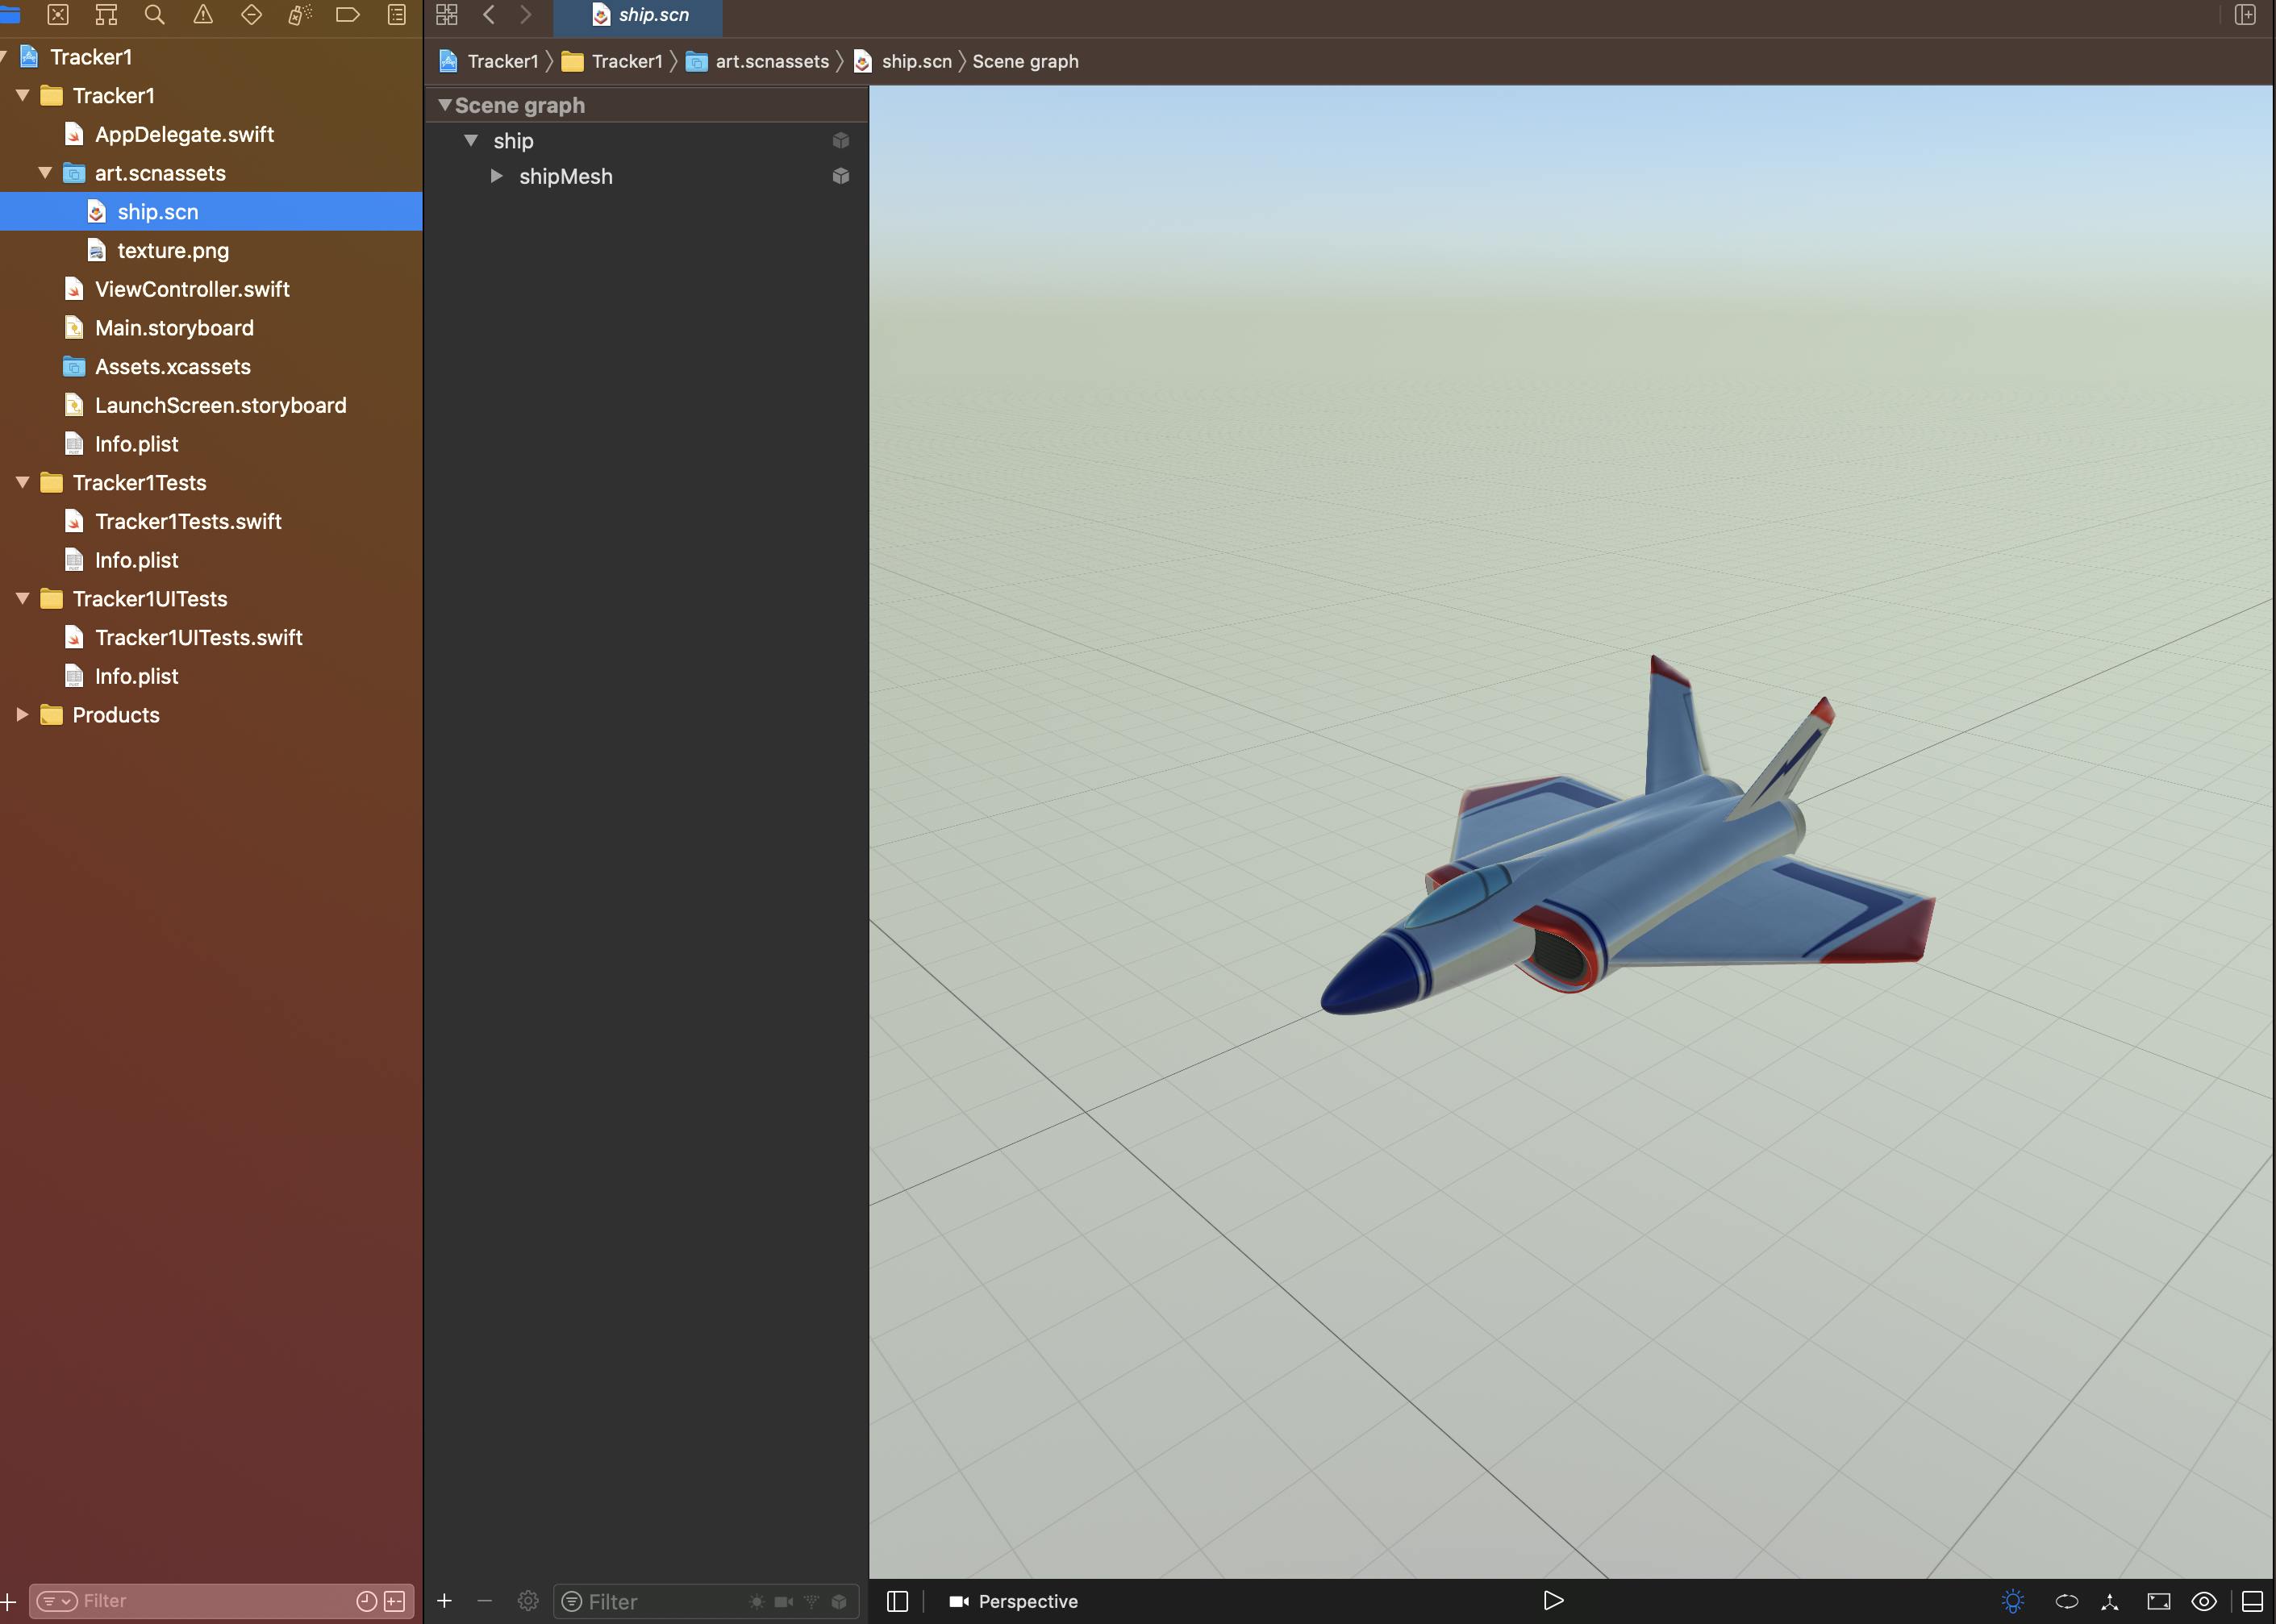
There are common files in the project such as ViewController, info.plist and Main.storyboard.
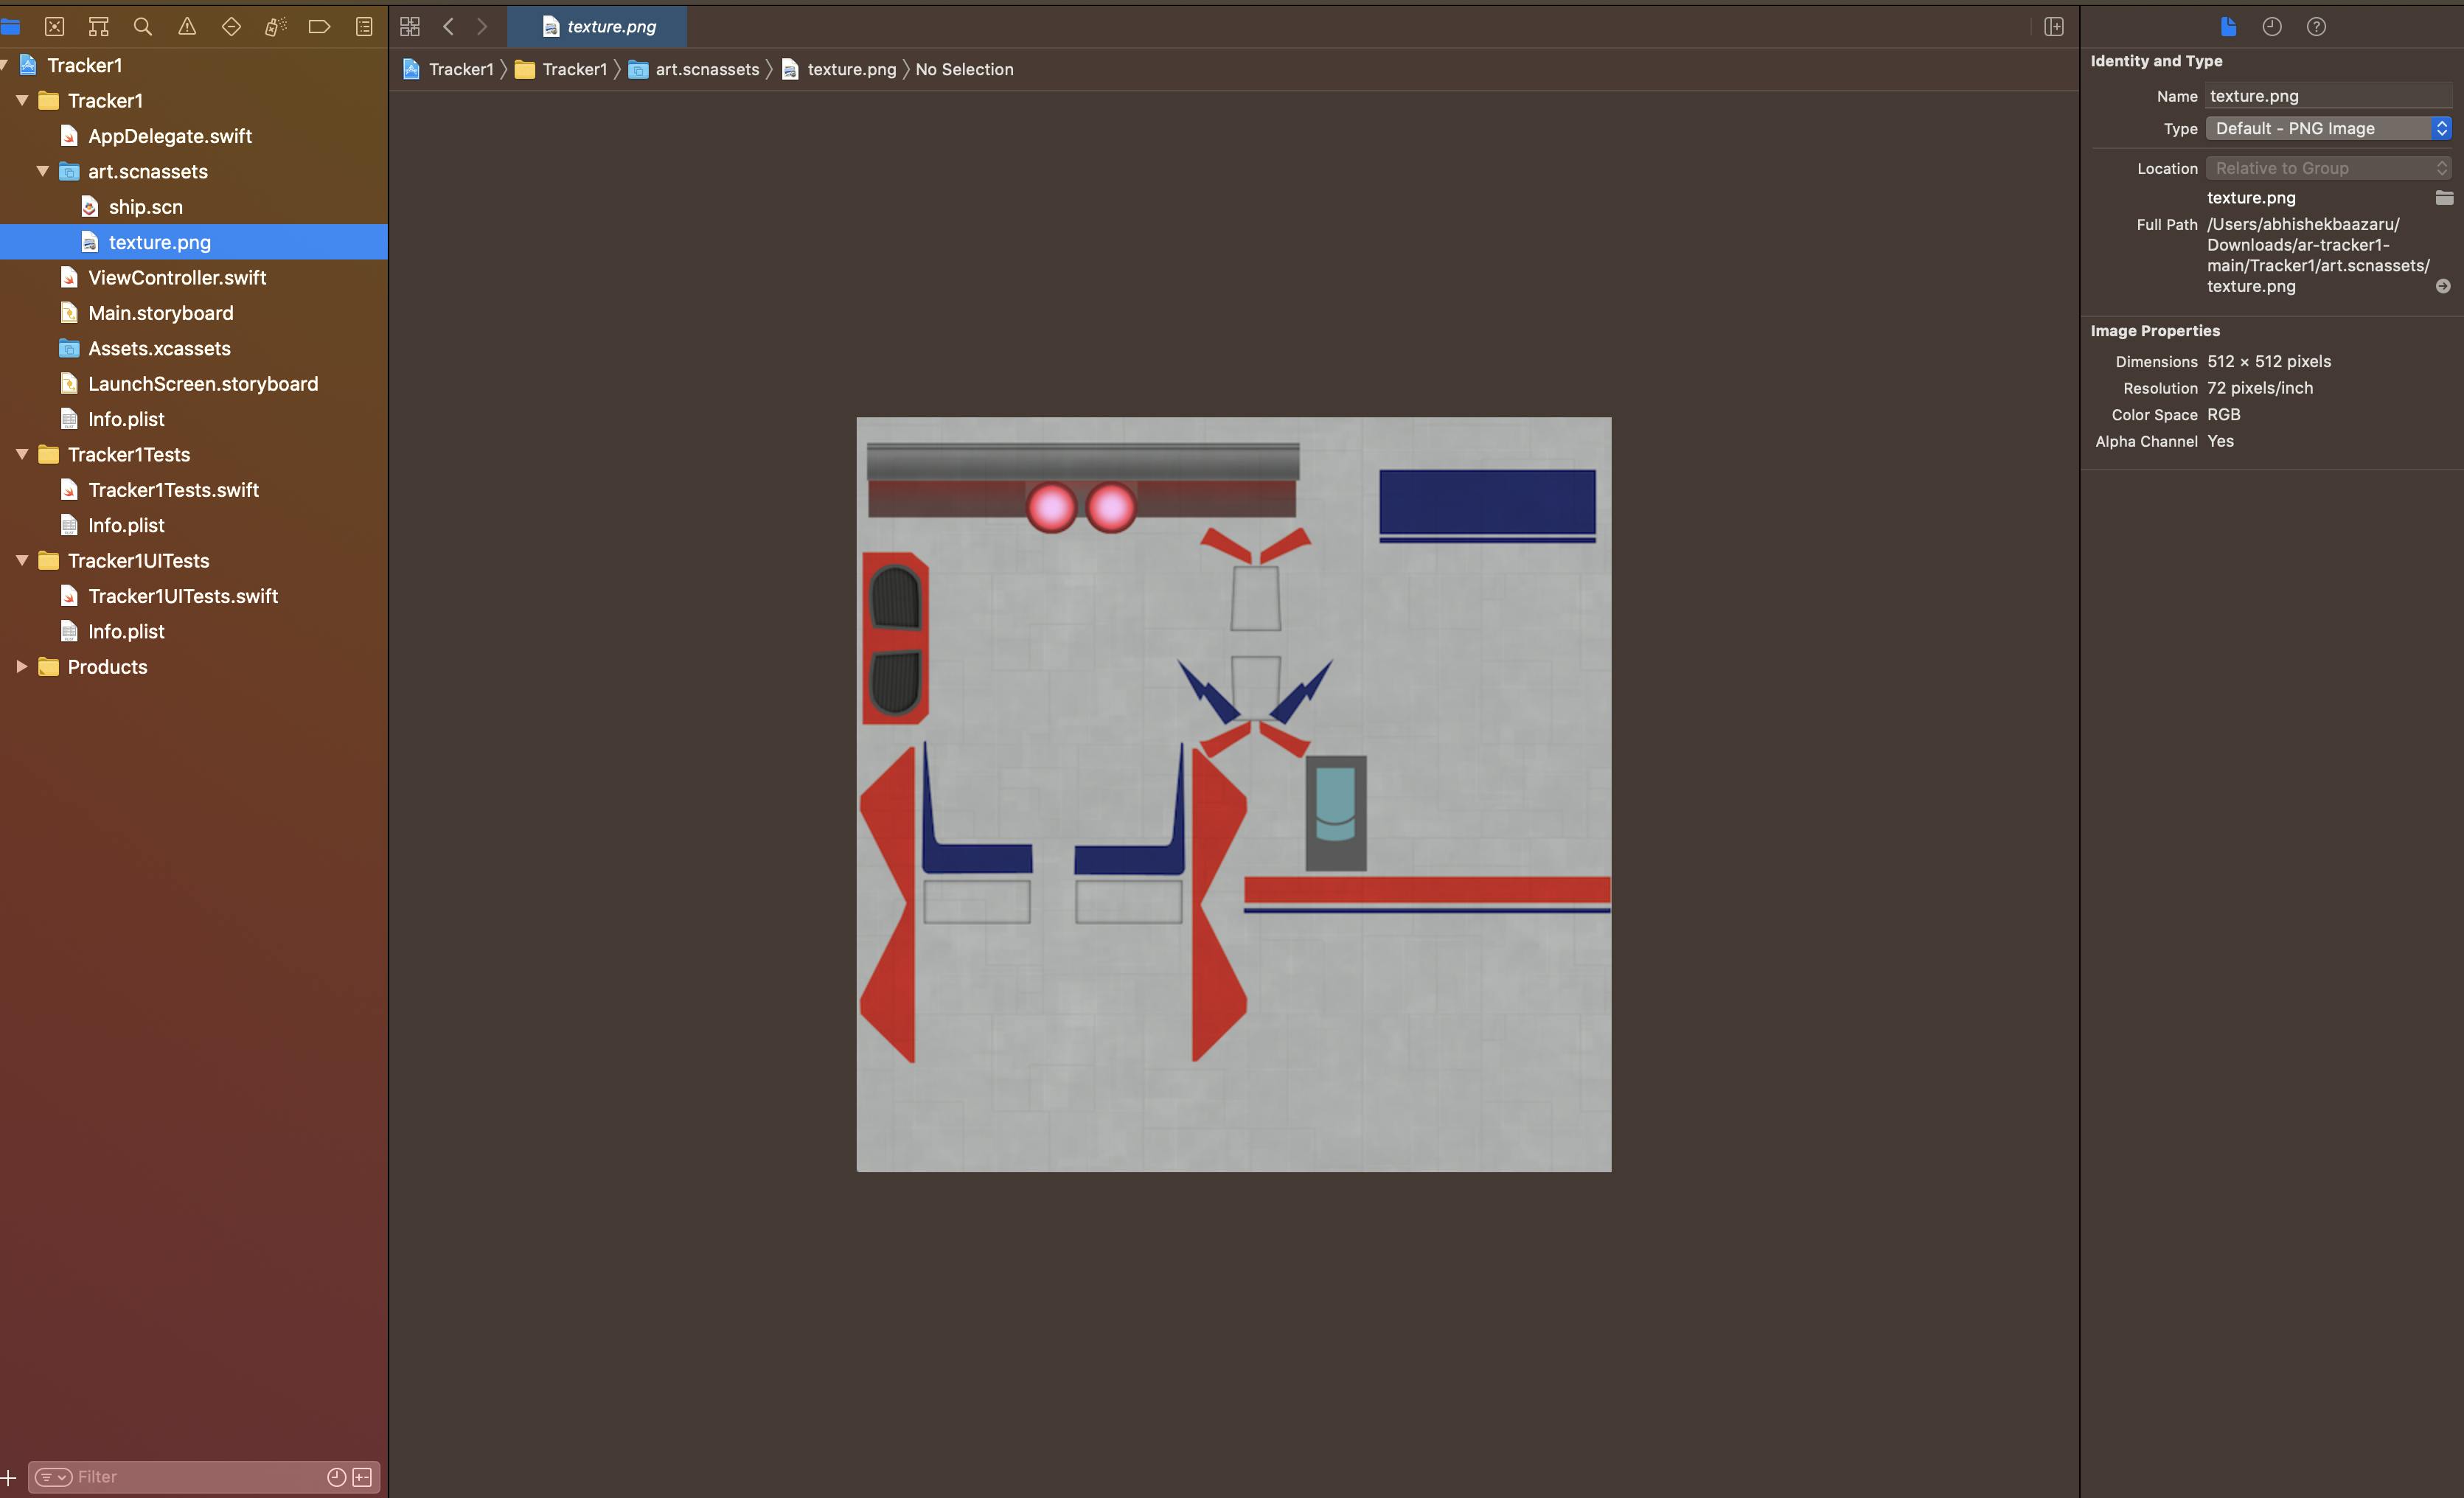
In art.scnassets, upload an image and also create an scn file. Here there are ship.scn and texture.png.
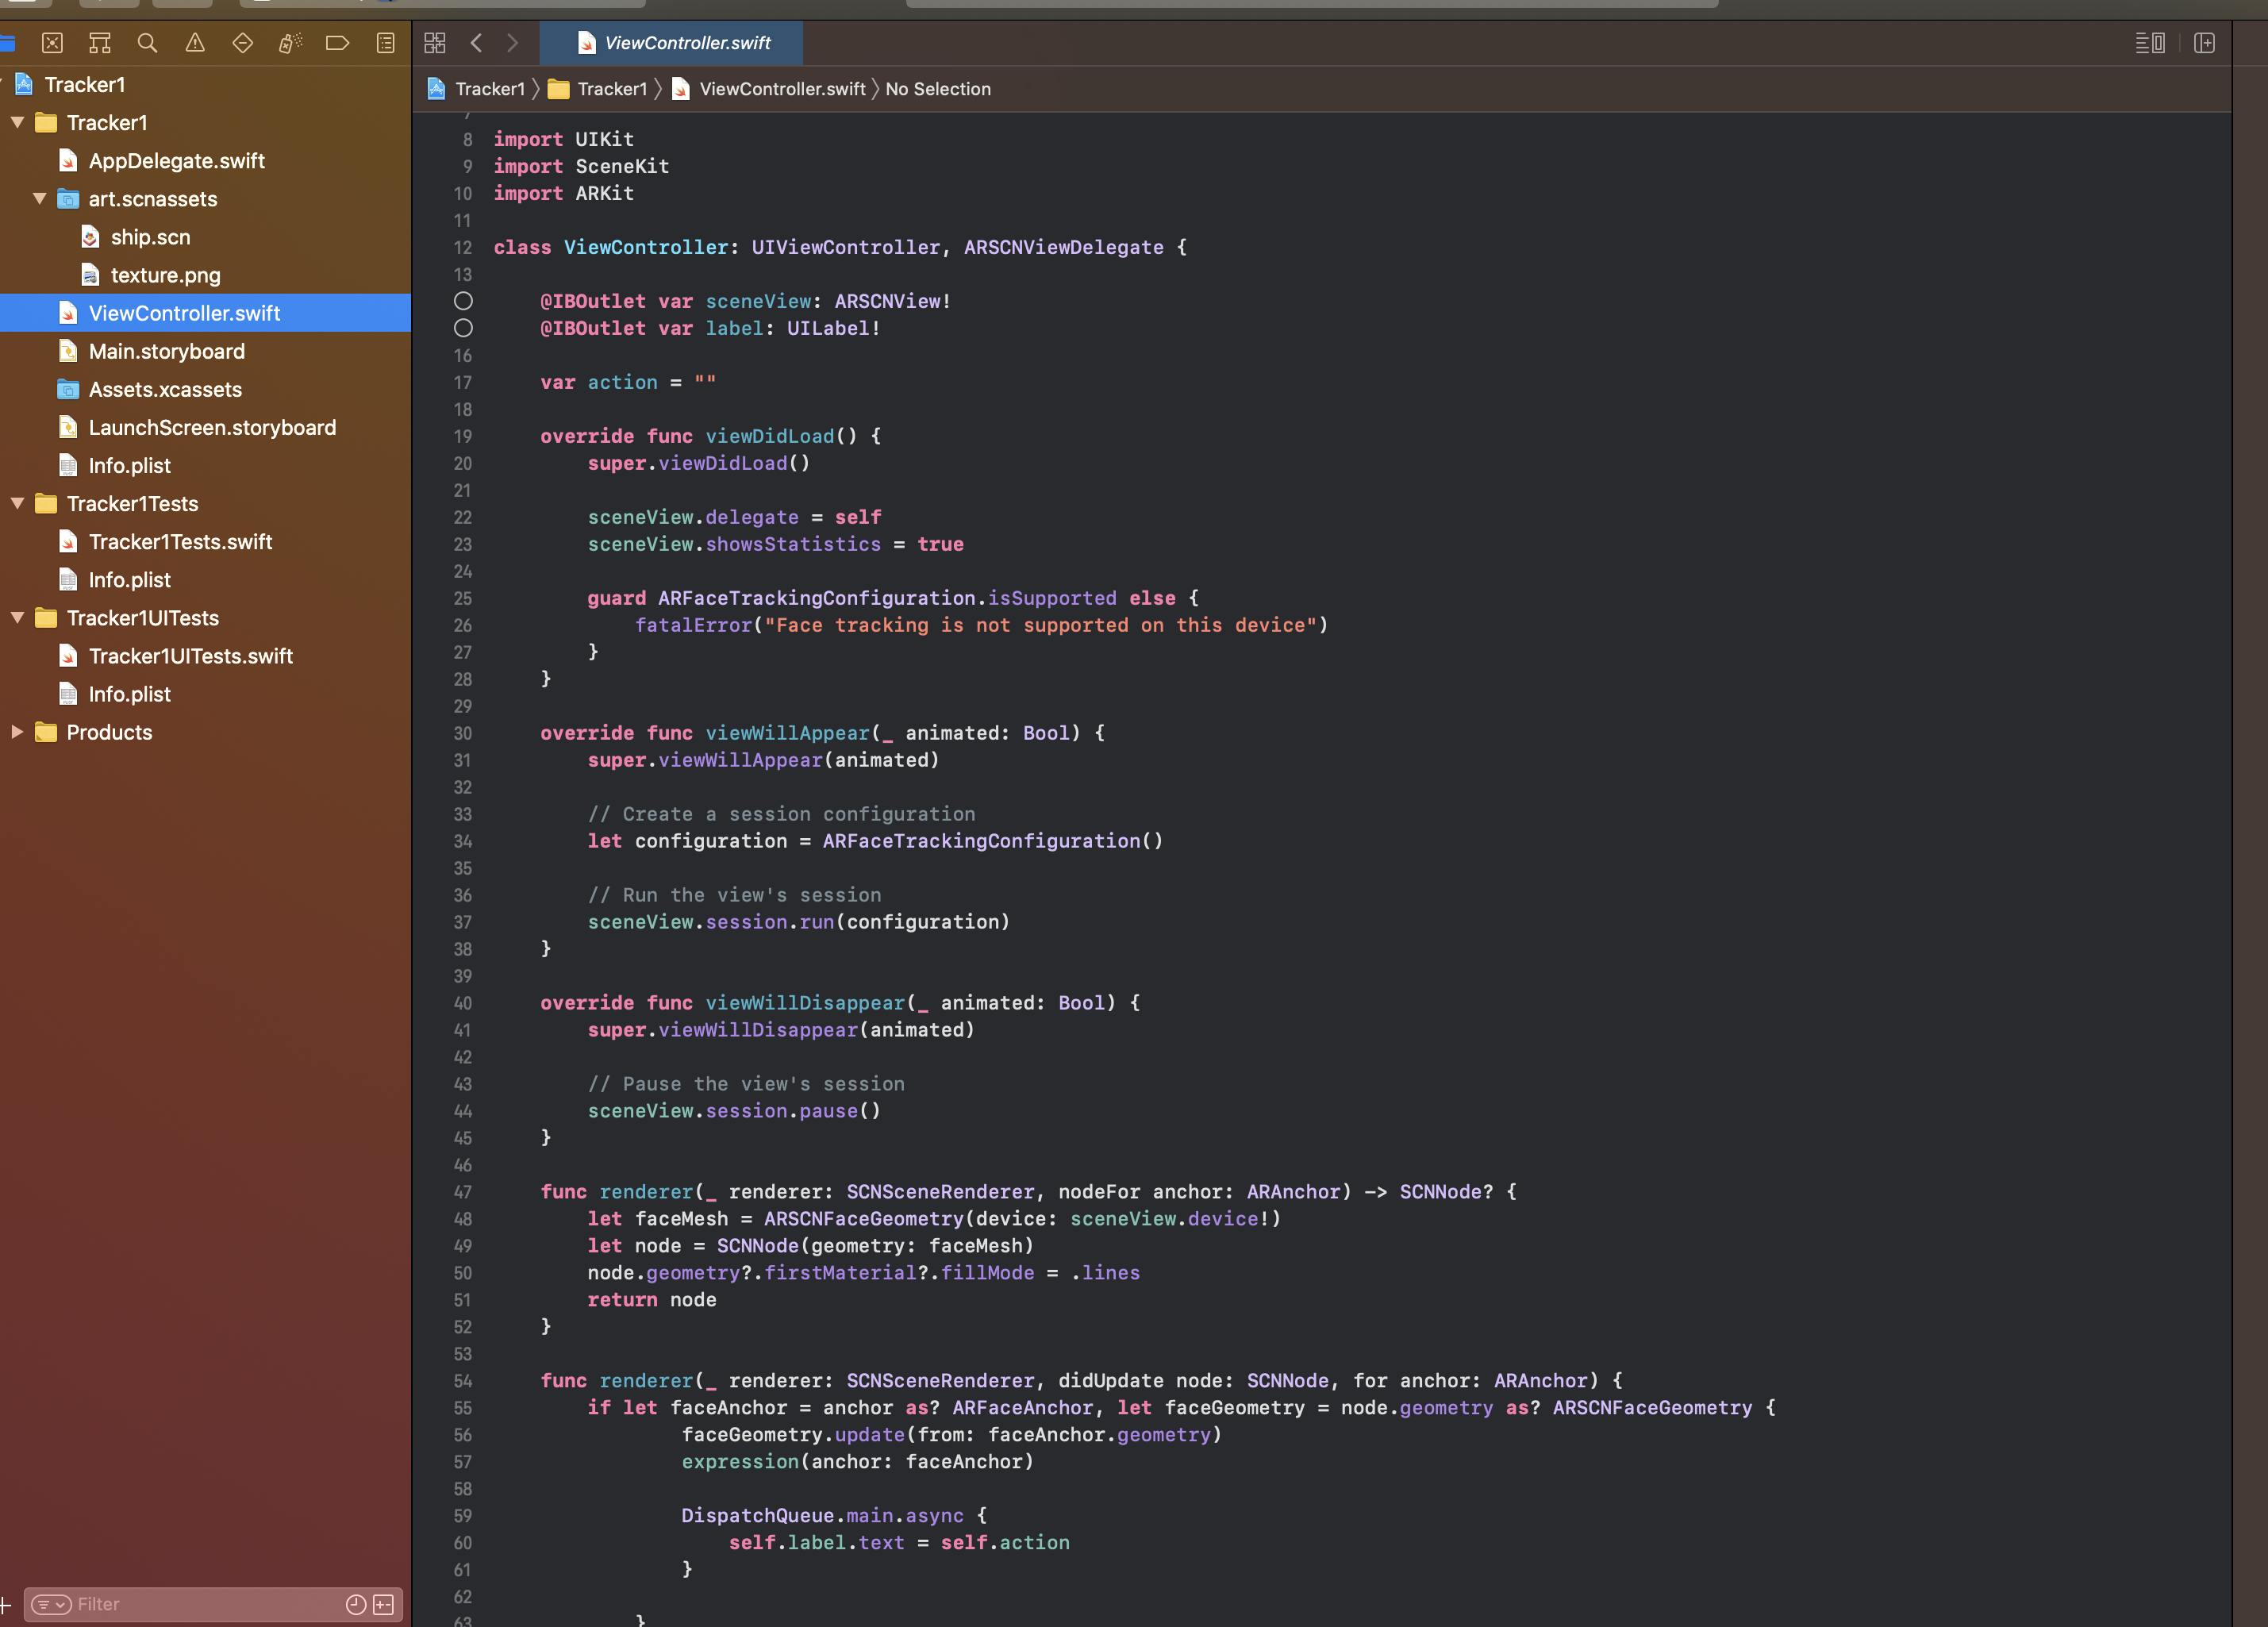
Now, let's move on to the coding in the ViewController file. Create an outlet for ARSCNView because ARSCNView class provides the easiest way to create augmented reality experiences that blend virtual 3D content with a device camera view of the real world. Create the other outlet for UILabel as shown below in the image. Also, create an empty string and name it as 'action'.
In the viewDidLoad function check whether the device is supported for face tracking or not using ARFaceTrackingConfiguration. If not, give an error message.
In the viewWillAppear function create a session and run it and in the viewWillDisappear function pause the session.
In the first renderer function, check for the geometry of the face using ARSCNGeometry, then create a node using SCNNode and return the node.
In the second renderer function, check for the geometry updates of the face like when the face is moving in different directions. Here we will update the geometry of that facial expressions and then we will pass it to the new function.
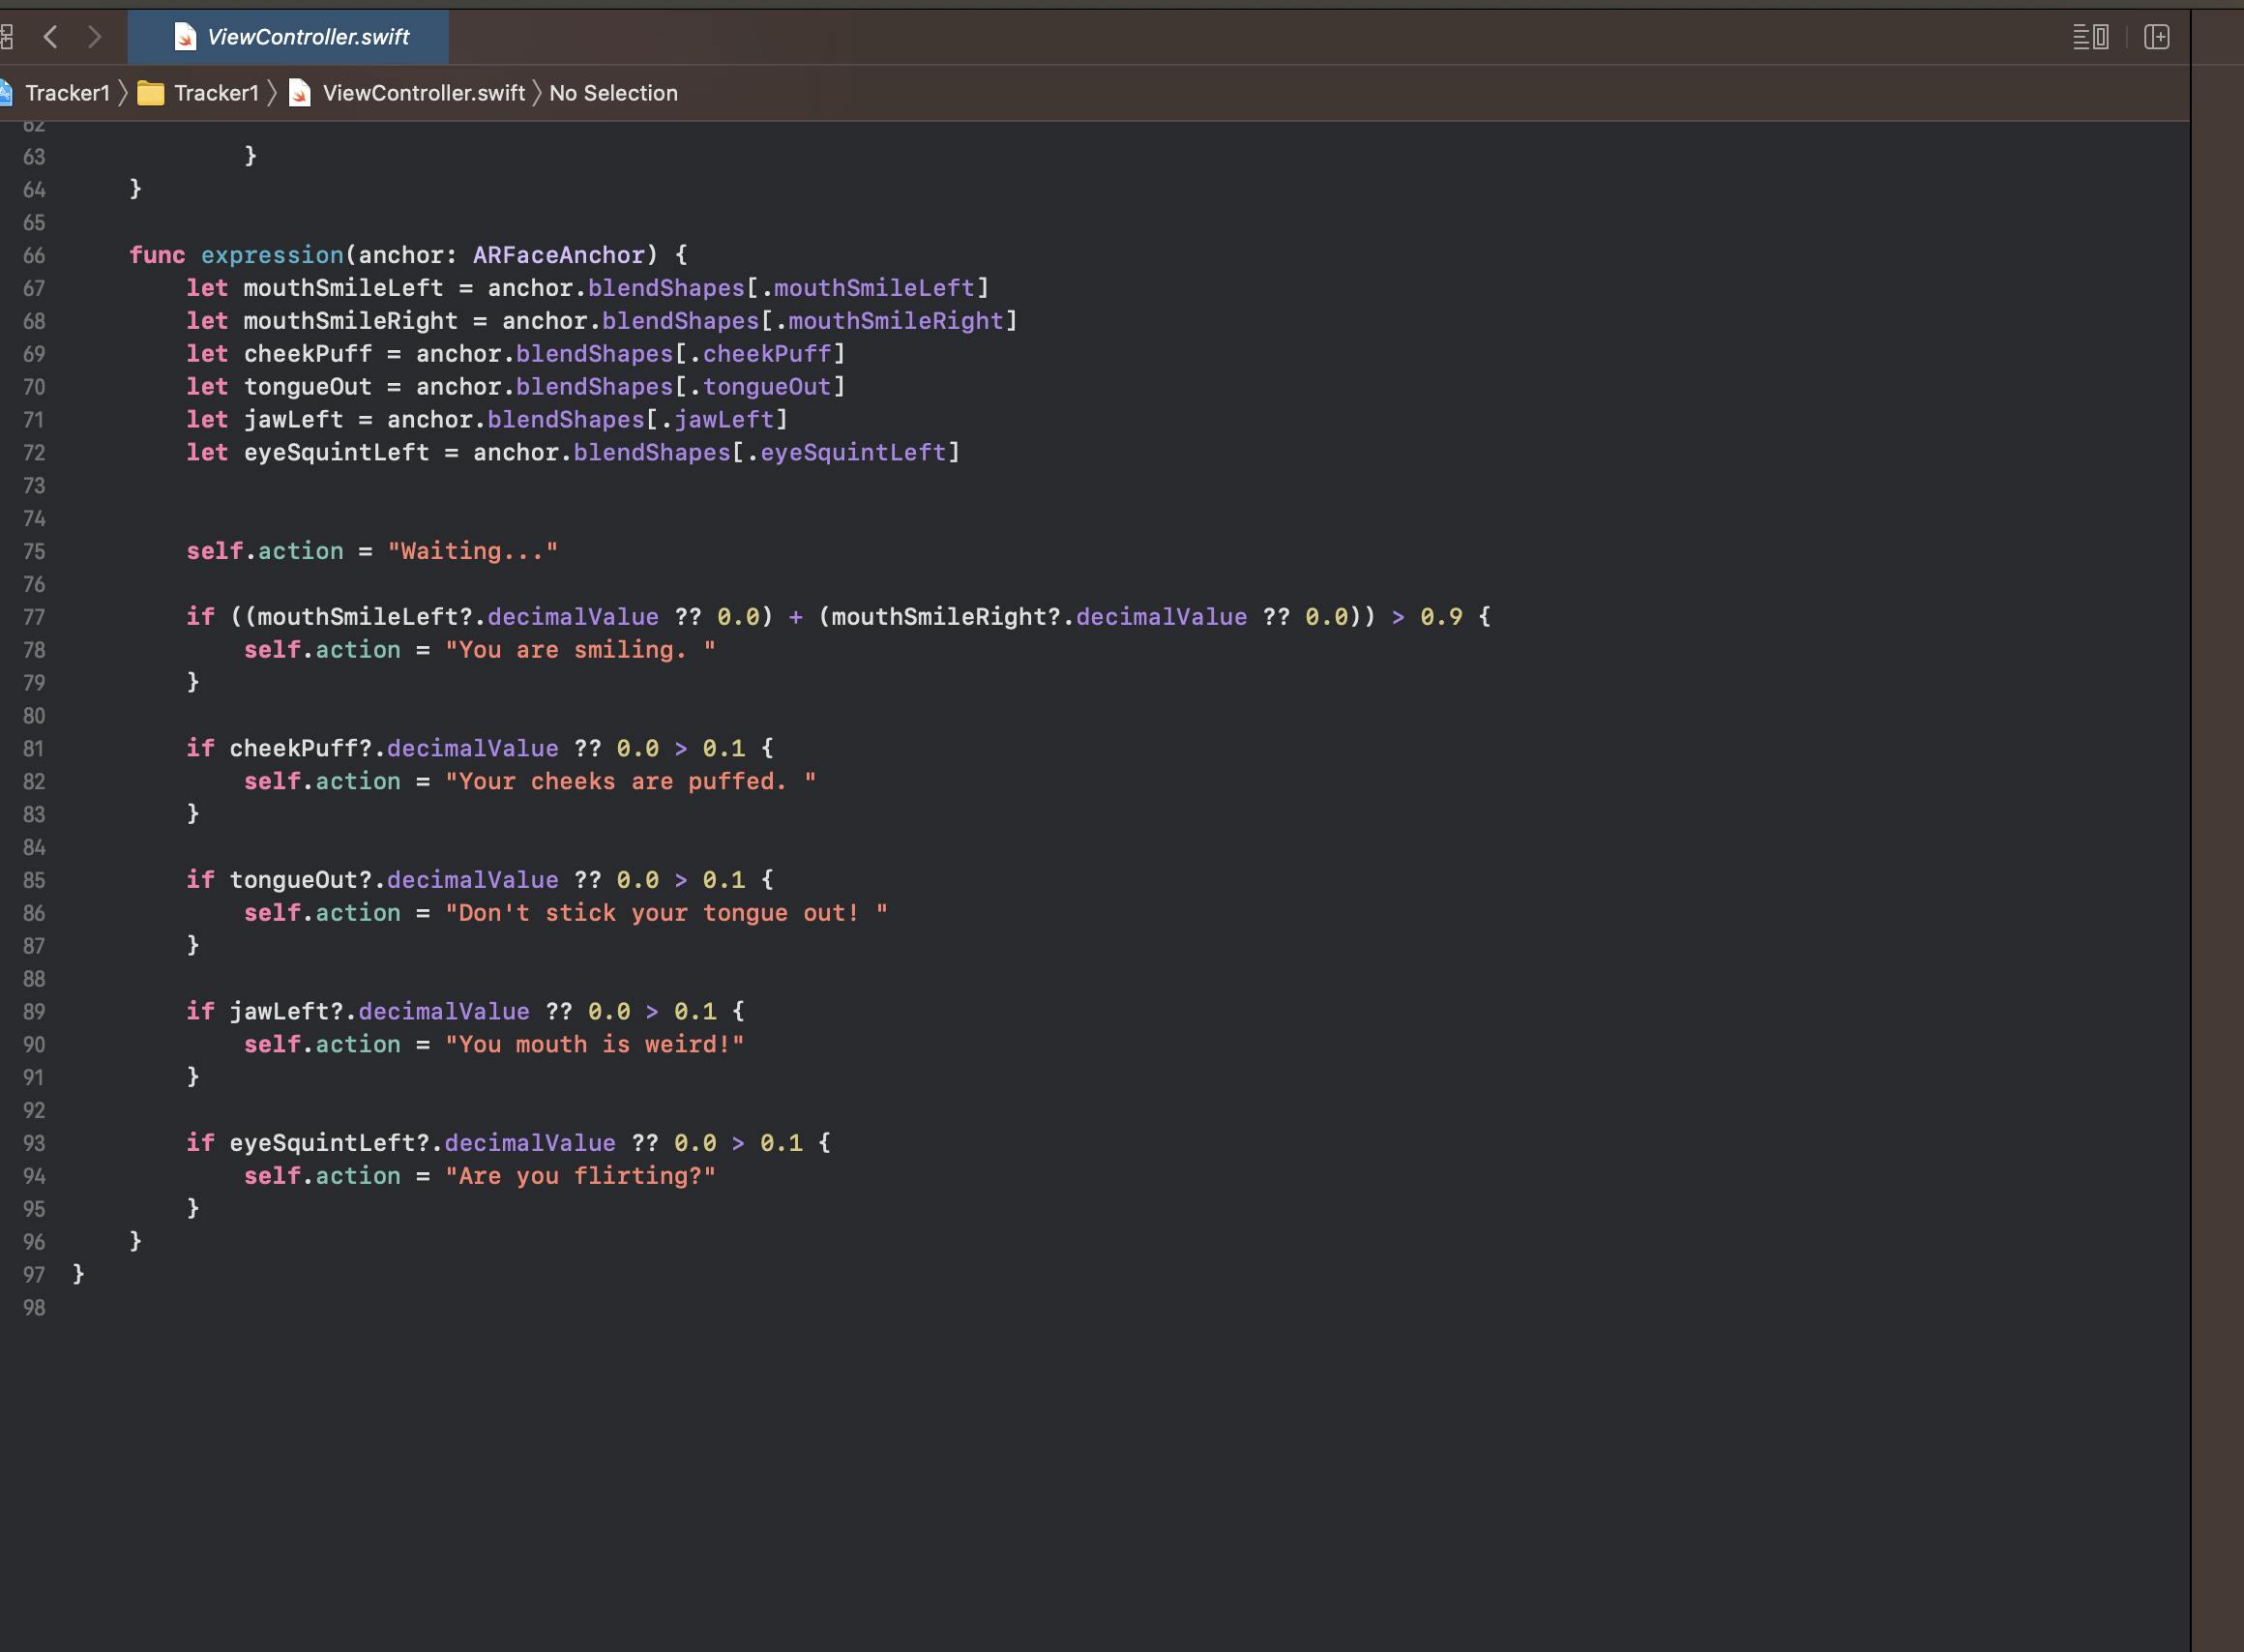
In the function which is passed from the renderer function, create different blendShapes such as mouthSmileLeft, mouthSmileRight, cheekPuff, tongueOut, jawLeft, eyeSquinLeft and many other facial expressions. Finally, by comparing with the decimal values output the action of the expressions in your own words.
Conclusion:
I hope that you found this tutorial useful and your concepts about creating an Augmented reality face tracking app are clear. You can find the source code of this application on GitHub