Easy way to build an AR app using Xcode


Augmented reality is now a trendy IT industry. It is gradually conquering the mobile development market as more and more developers are using this technology. Augmented reality is now in high demand, not only for entertainment but also for educational, commercial, and healthcare purposes.
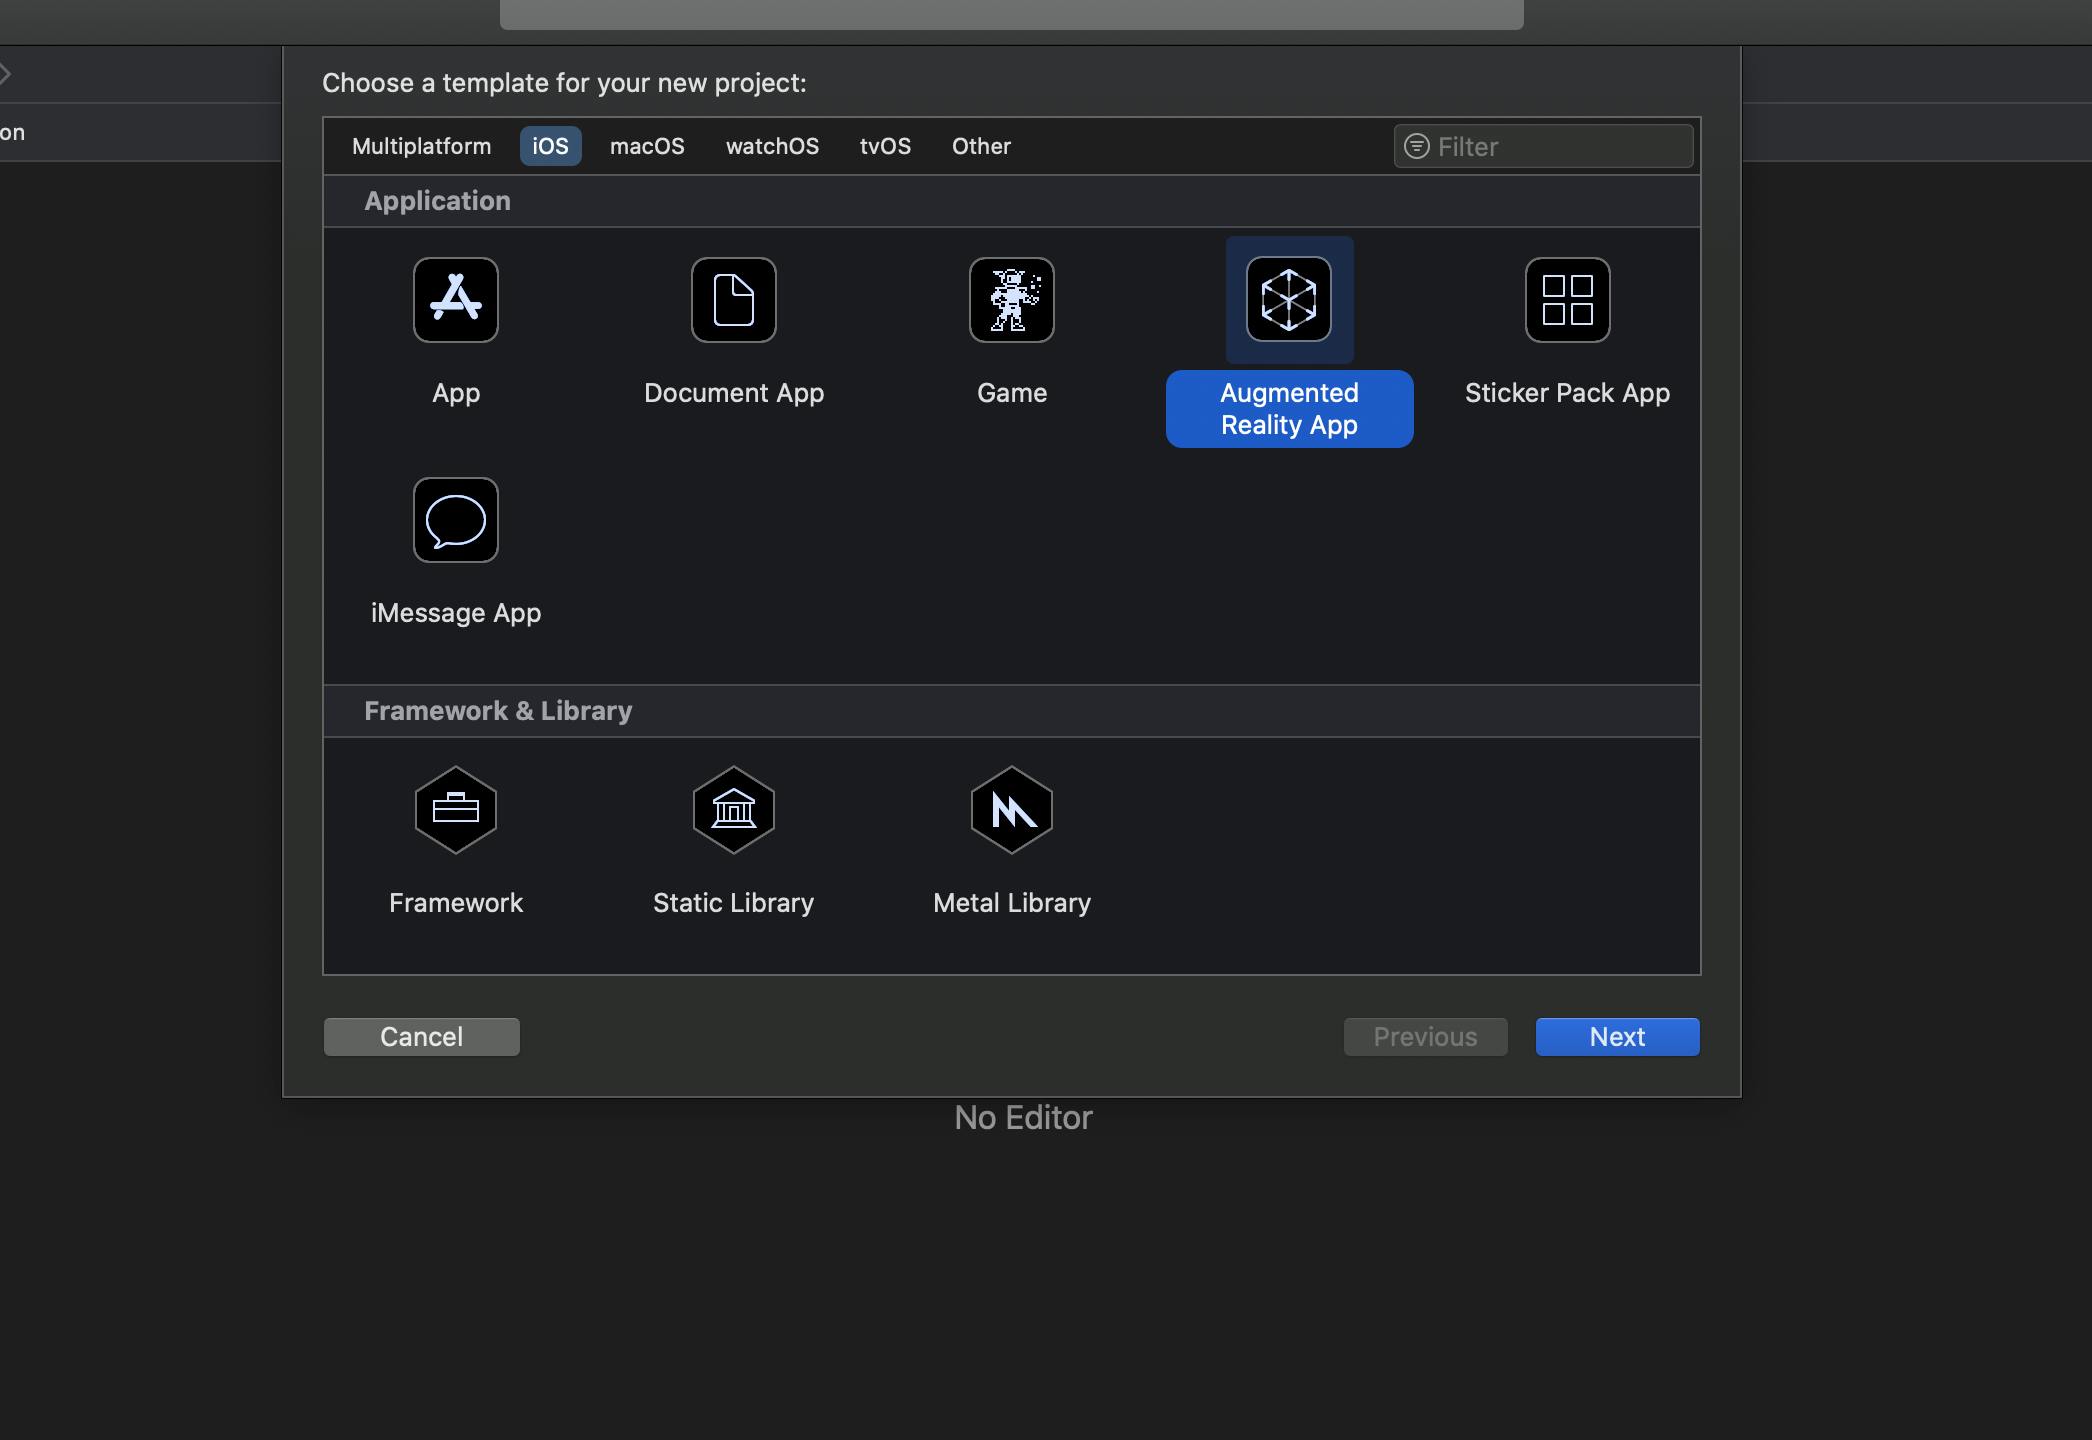
Let's start by creating an augmented app in Xcode.
Next, create the files in the following way:
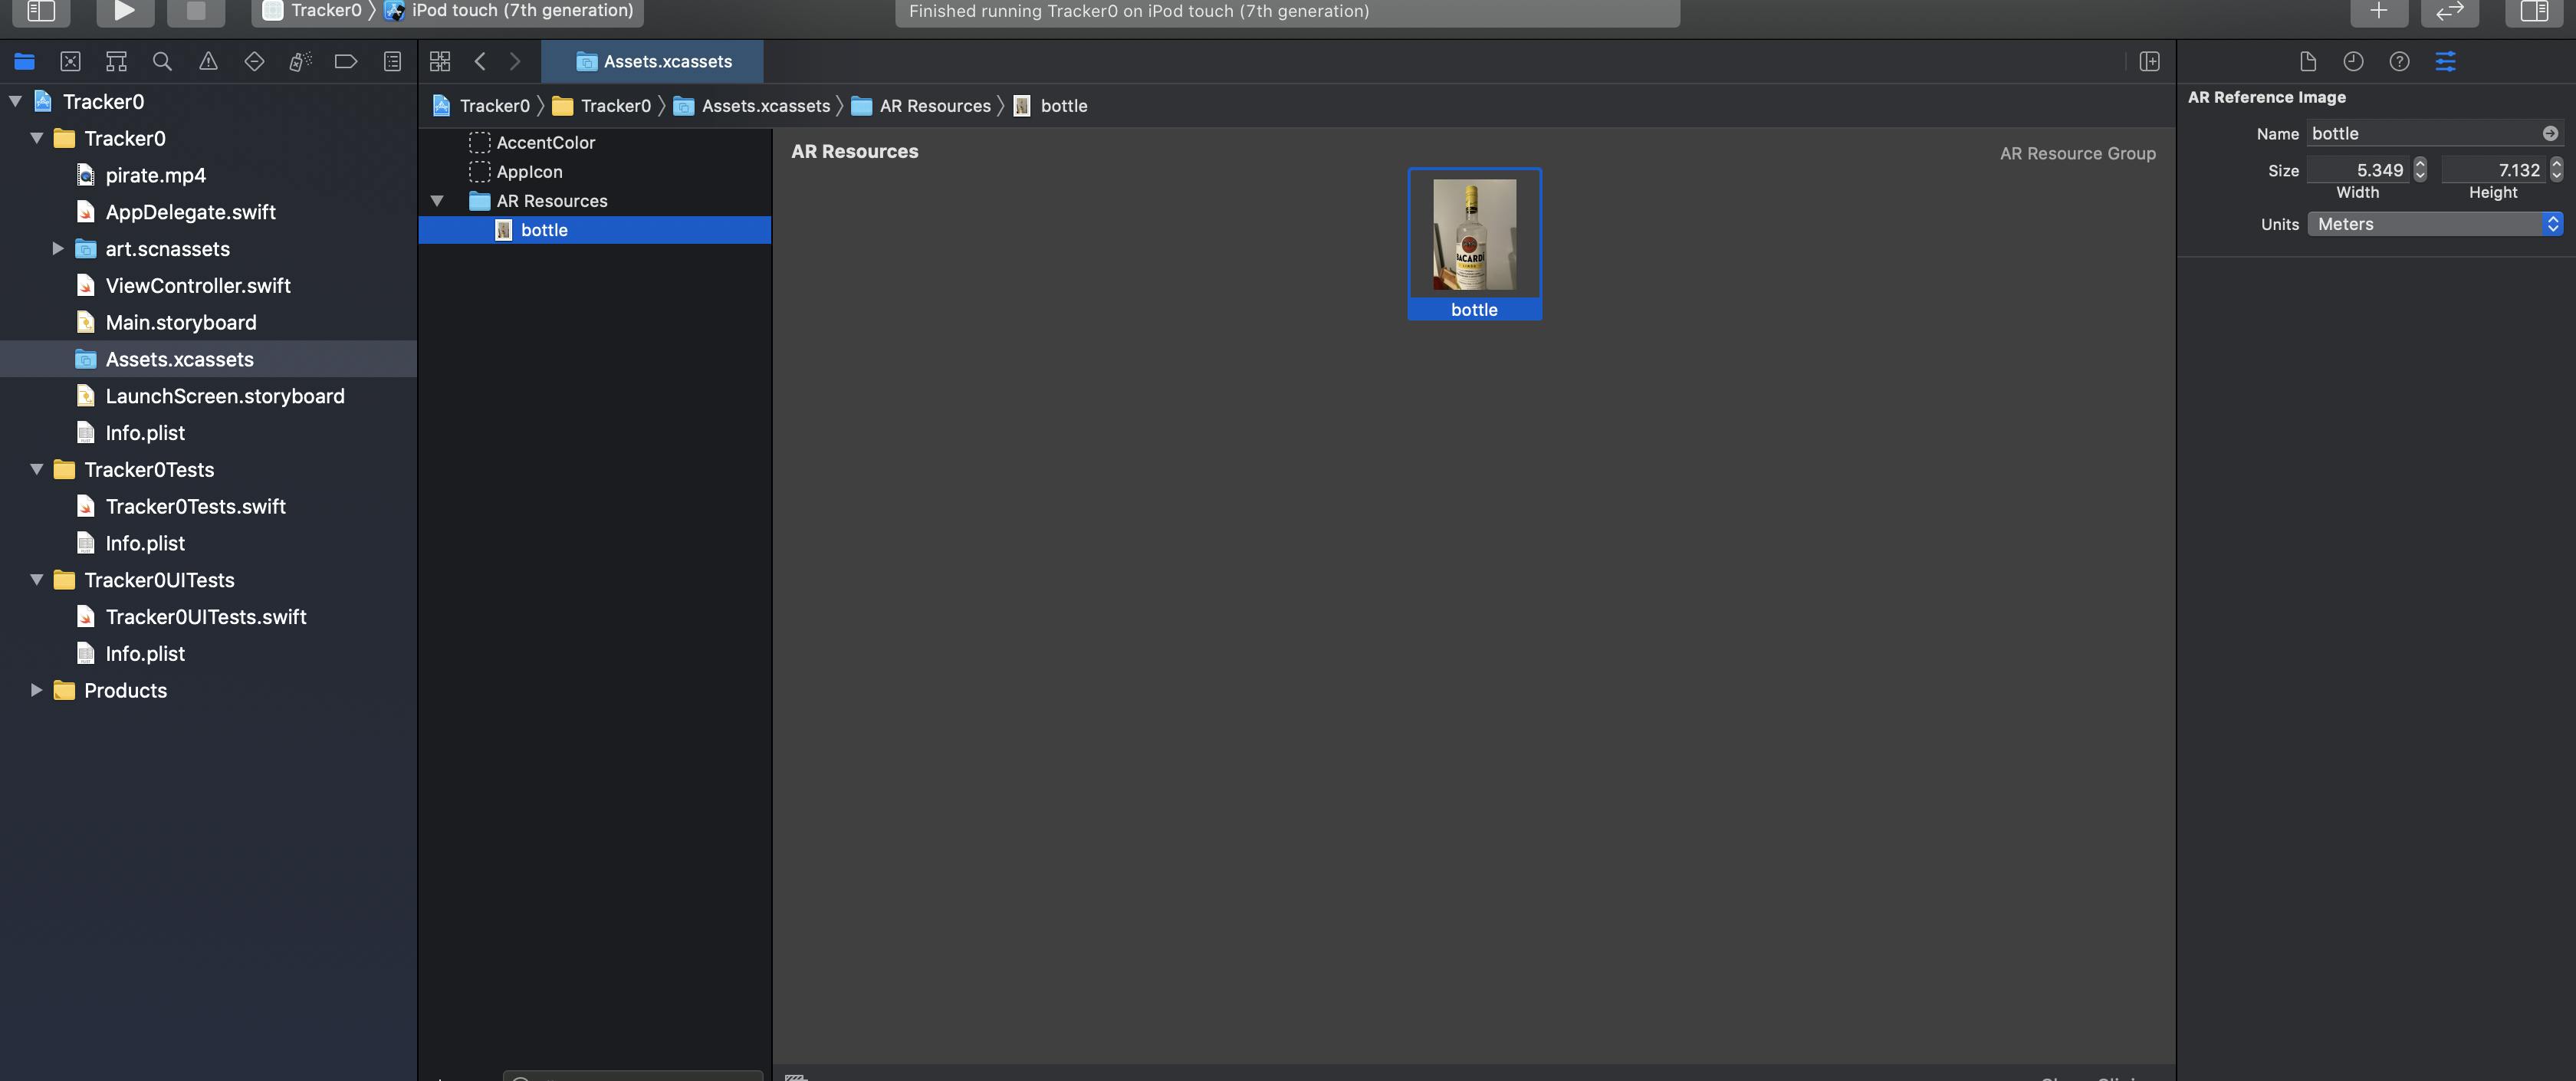
Here as we can see there is a video called pirate.mp4 which is the uploaded video in the project which will be displayed on an object.
In assets.xcassets upload an image on which the video or a game will be displayed.
There are other common files in the project such as ViewController, info.plist and Main.storyboard.
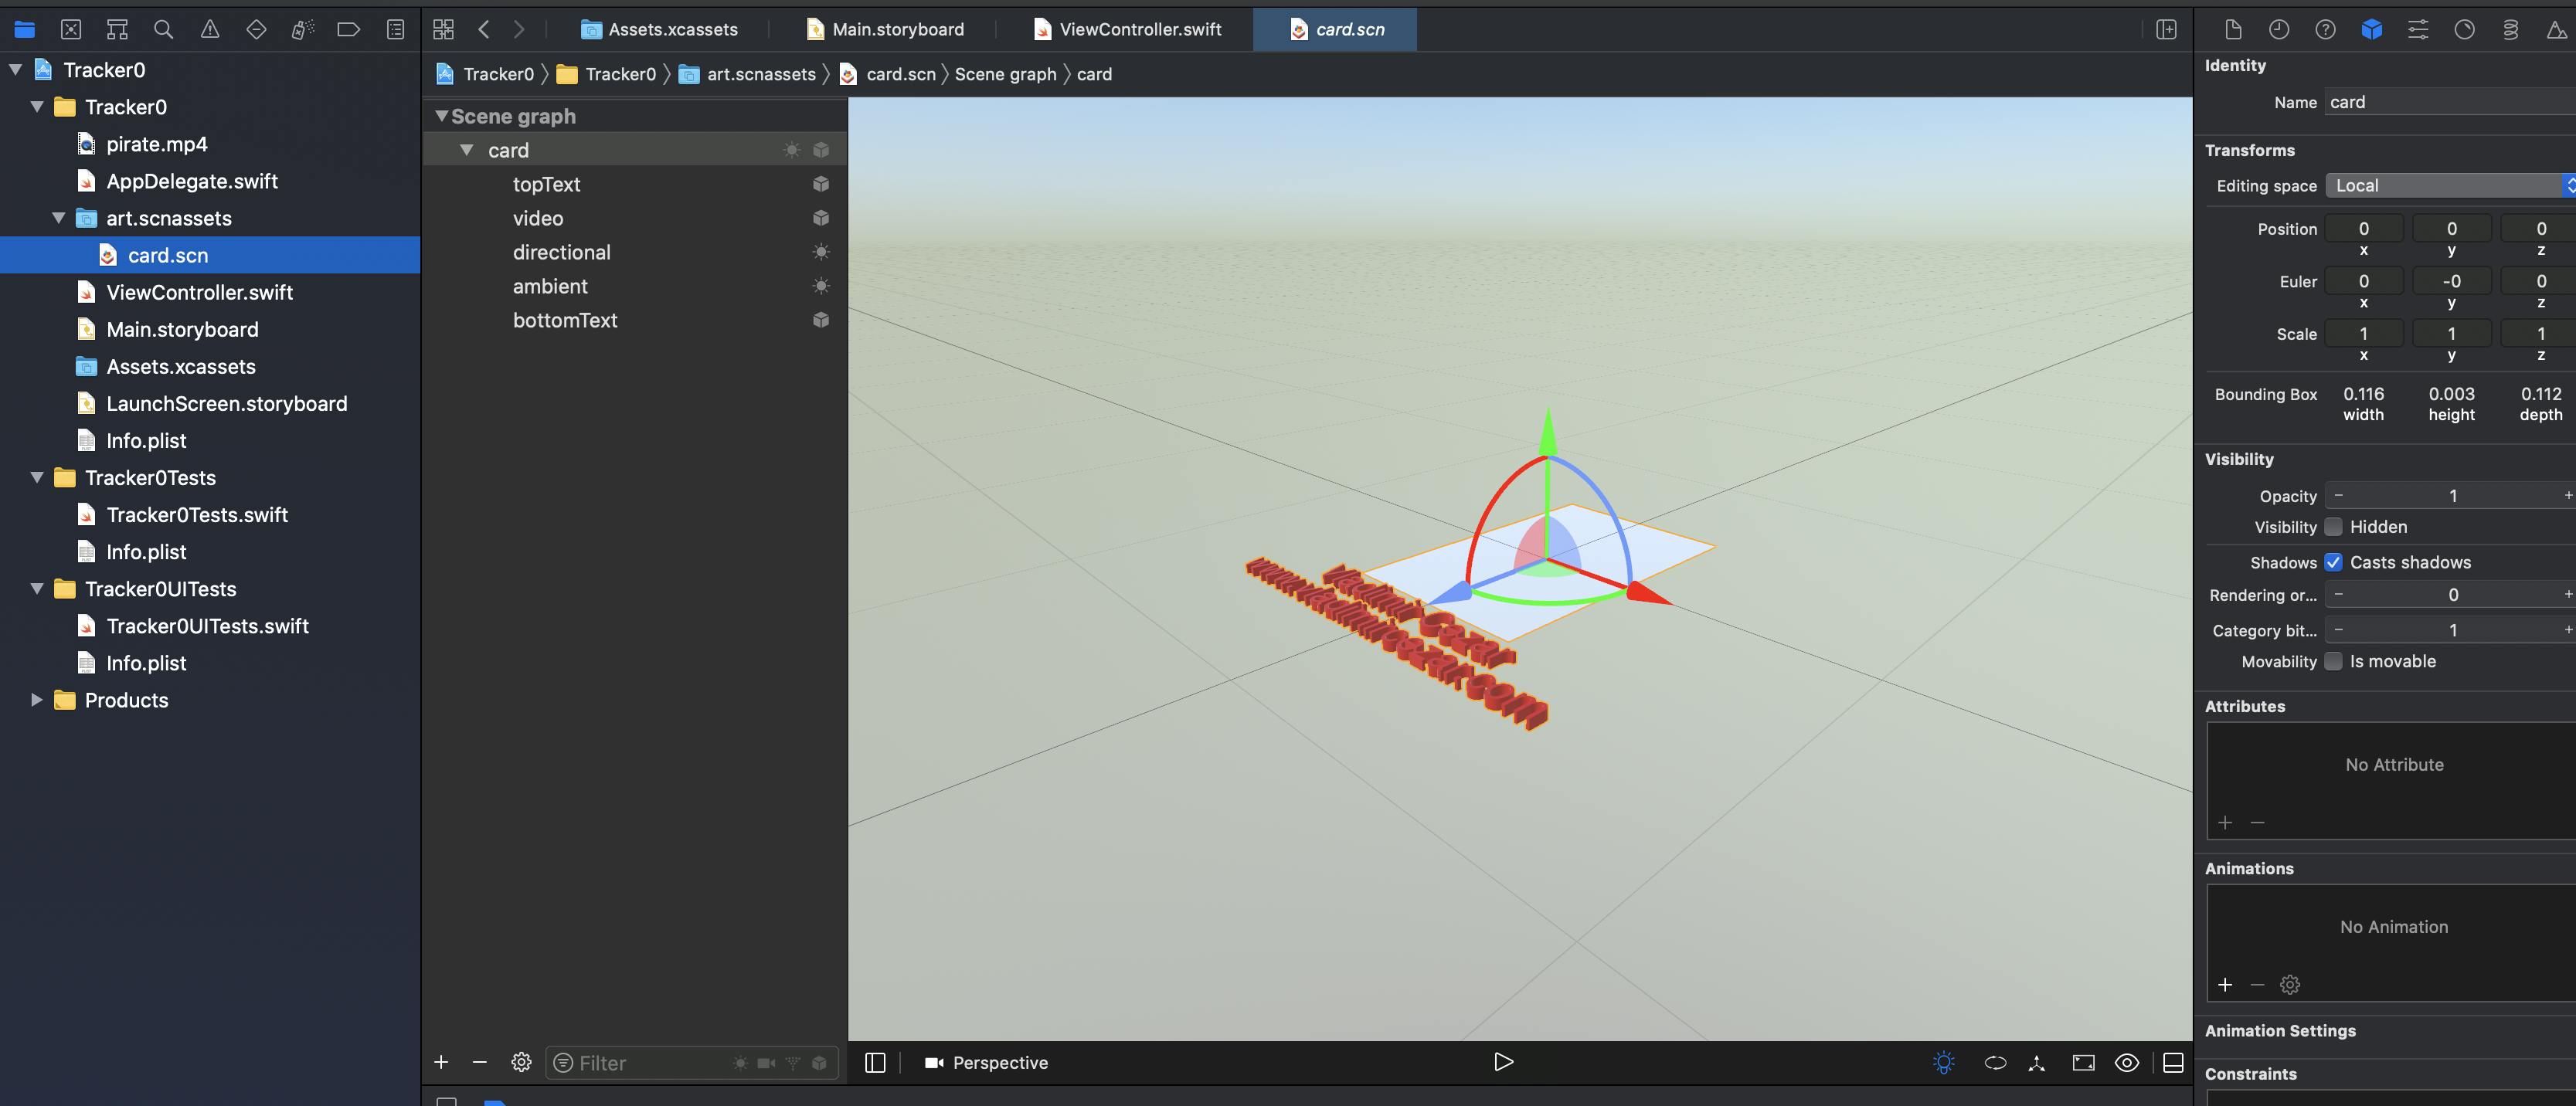
In art.scnassets the object dimensions will be measured. There are topText, video, directional, ambient and bottomText. You can create different nodes as per the app requirement.
Now, let's start coding in the ViewController file. As we can see in the below image we are creating an outlet as ARSCNView because ARSCNView class provides the easiest way to create augmented reality experiences that blend virtual 3D content with a device camera view of the real world.
Then in the viewDidLoad function, create a new scene with the use of object in art.scnassets which has all the dimensions of the object or an image.
In the viewWillAppear function, create the session configuration using the AR resources in assets.xcassets.

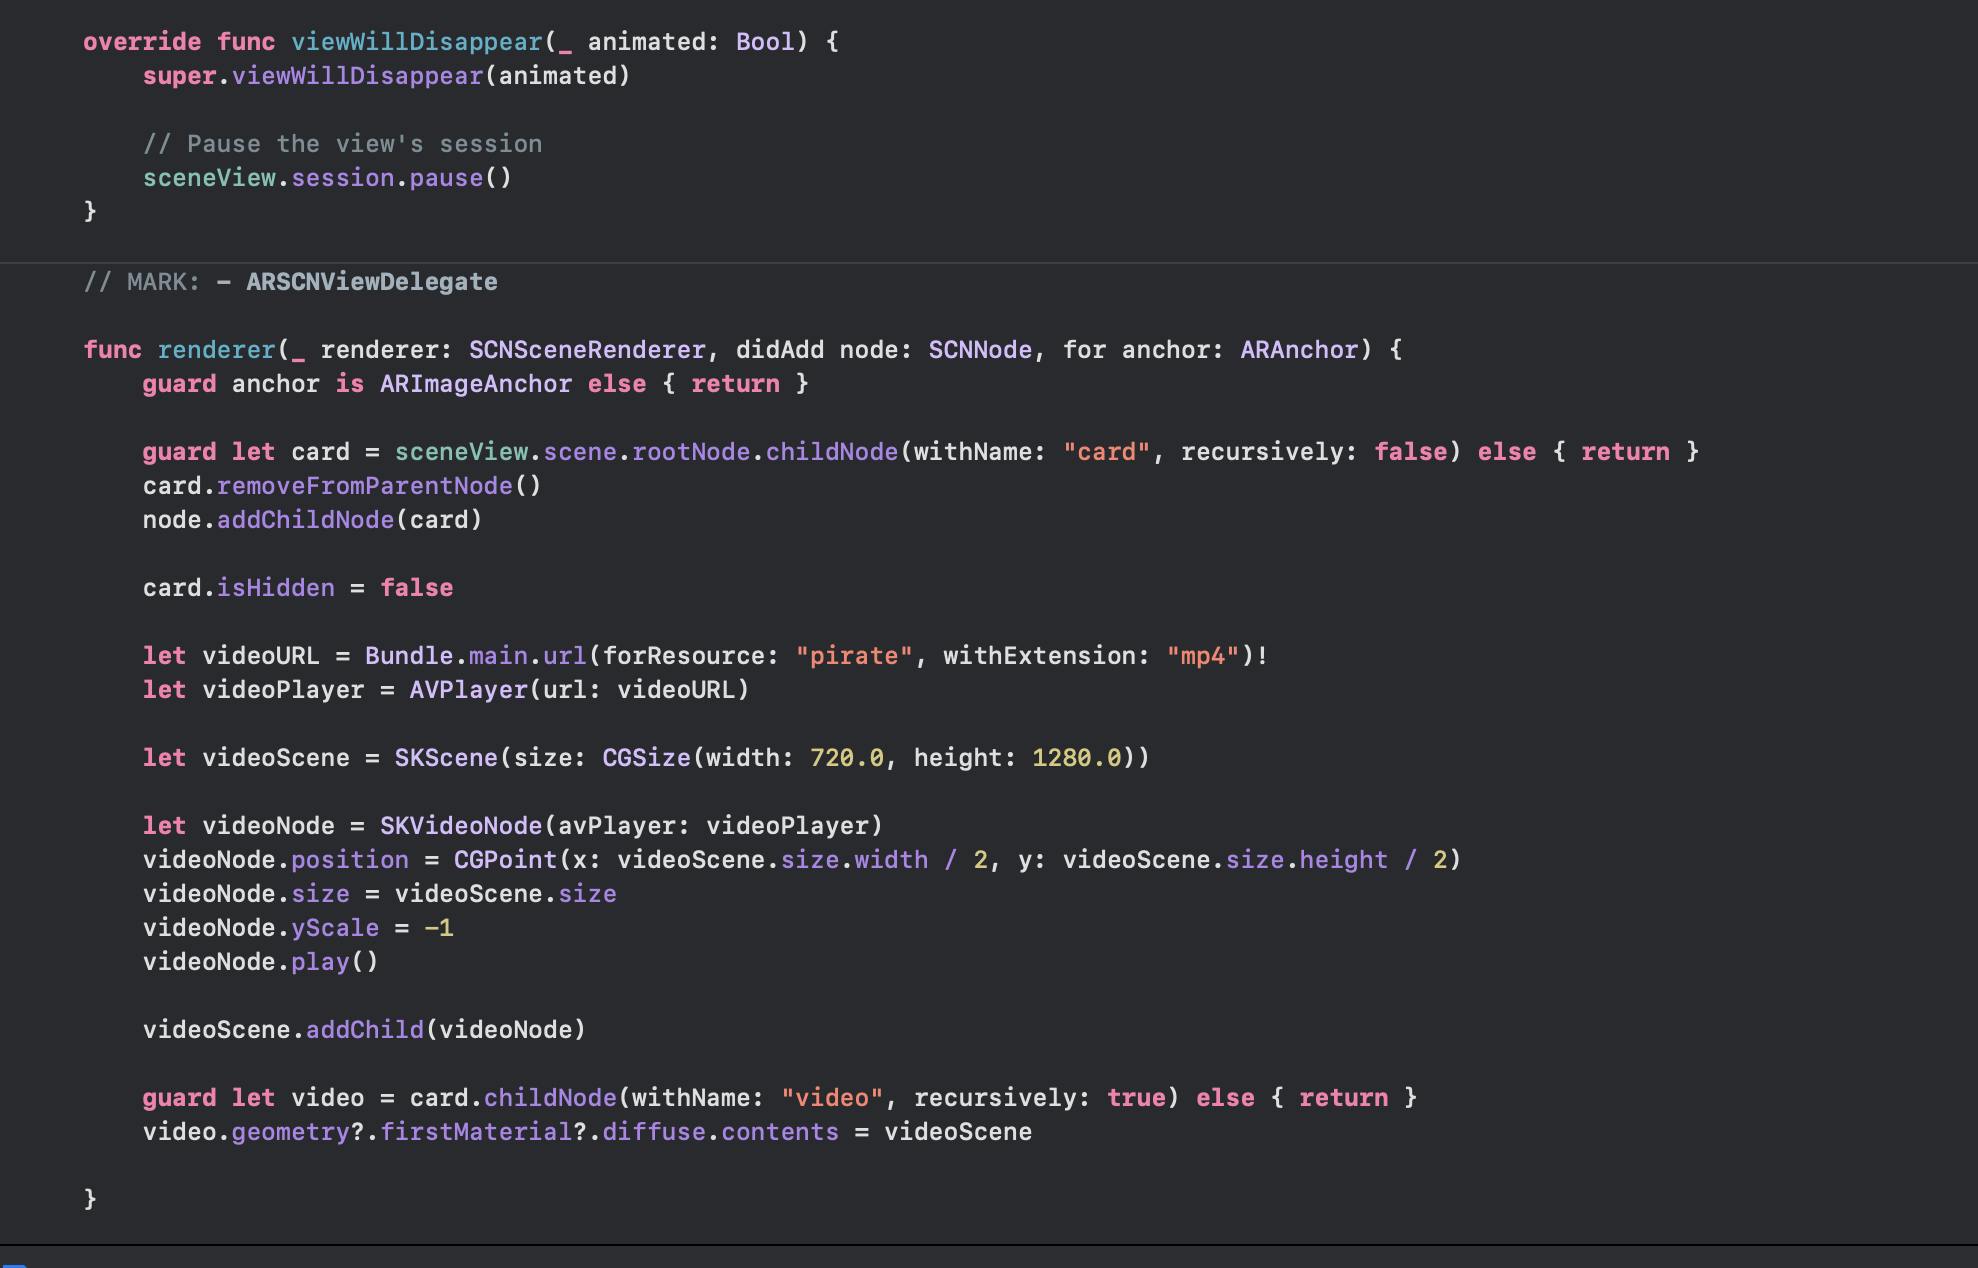
Next, in viewWillDisappear function pause the view's session.
In the renderer function, the video which is uploaded to the project is used and with the use of position, size, yscale and play the video will be displayed on the object. The code in the following image gives a clear view of how to use those attributes.
Conclusion:
I hope that you found this tutorial useful and your concepts about creating an Augmented reality app is clear. You can find the source code of this application on Github